How to Clean Air Purifier
Maintaining an air purifier is more than a mere aspect of household and commercial upkeep; it's a crucial step towards safeguarding your health in the face of escalating indoor air pollution. Studies show that indoor air can be two to five times more polluted than outdoor air, even in the most industrialized cities. This alarming statistic underscores the invisible hazard lurking within our homes and businesses, emanating from everyday sources like cleaning agents, cooking, and outdoor pollution seeping indoors. The World Health Organization attributes approximately 4.2 million premature deaths globally to outdoor air pollution, with many individuals exposed to harmful pollutants inside their homes. Indoor air quality is directly linked to various health issues, ranging from temporary discomfort such as headaches and eye irritation to severe long-term consequences including respiratory diseases, heart disease, and stroke. In this light, air purifiers emerge as vital allies, yet their efficacy hinges on regular maintenance and cleaning.

Why Clean Your Air Purifier?
The benefits of regular air purifier maintenance extend beyond merely prolonging the device's lifespan. Studies have shown that:
- Improved air quality: By removing pollutants and allergens from filters, clean air purifiers ensure healthier air circulates within your space, significantly reducing the risk of respiratory issues and allergies.
- Extended purifier lifespan: Regular cleaning prevents the build-up of dirt and debris that can wear down your machine over time, ensuring it operates efficiently for years to come.
- Energy efficiency: A clean air purifier runs more smoothly, using less energy. This not only saves you money on electricity bills but also contributes to a more sustainable environment.
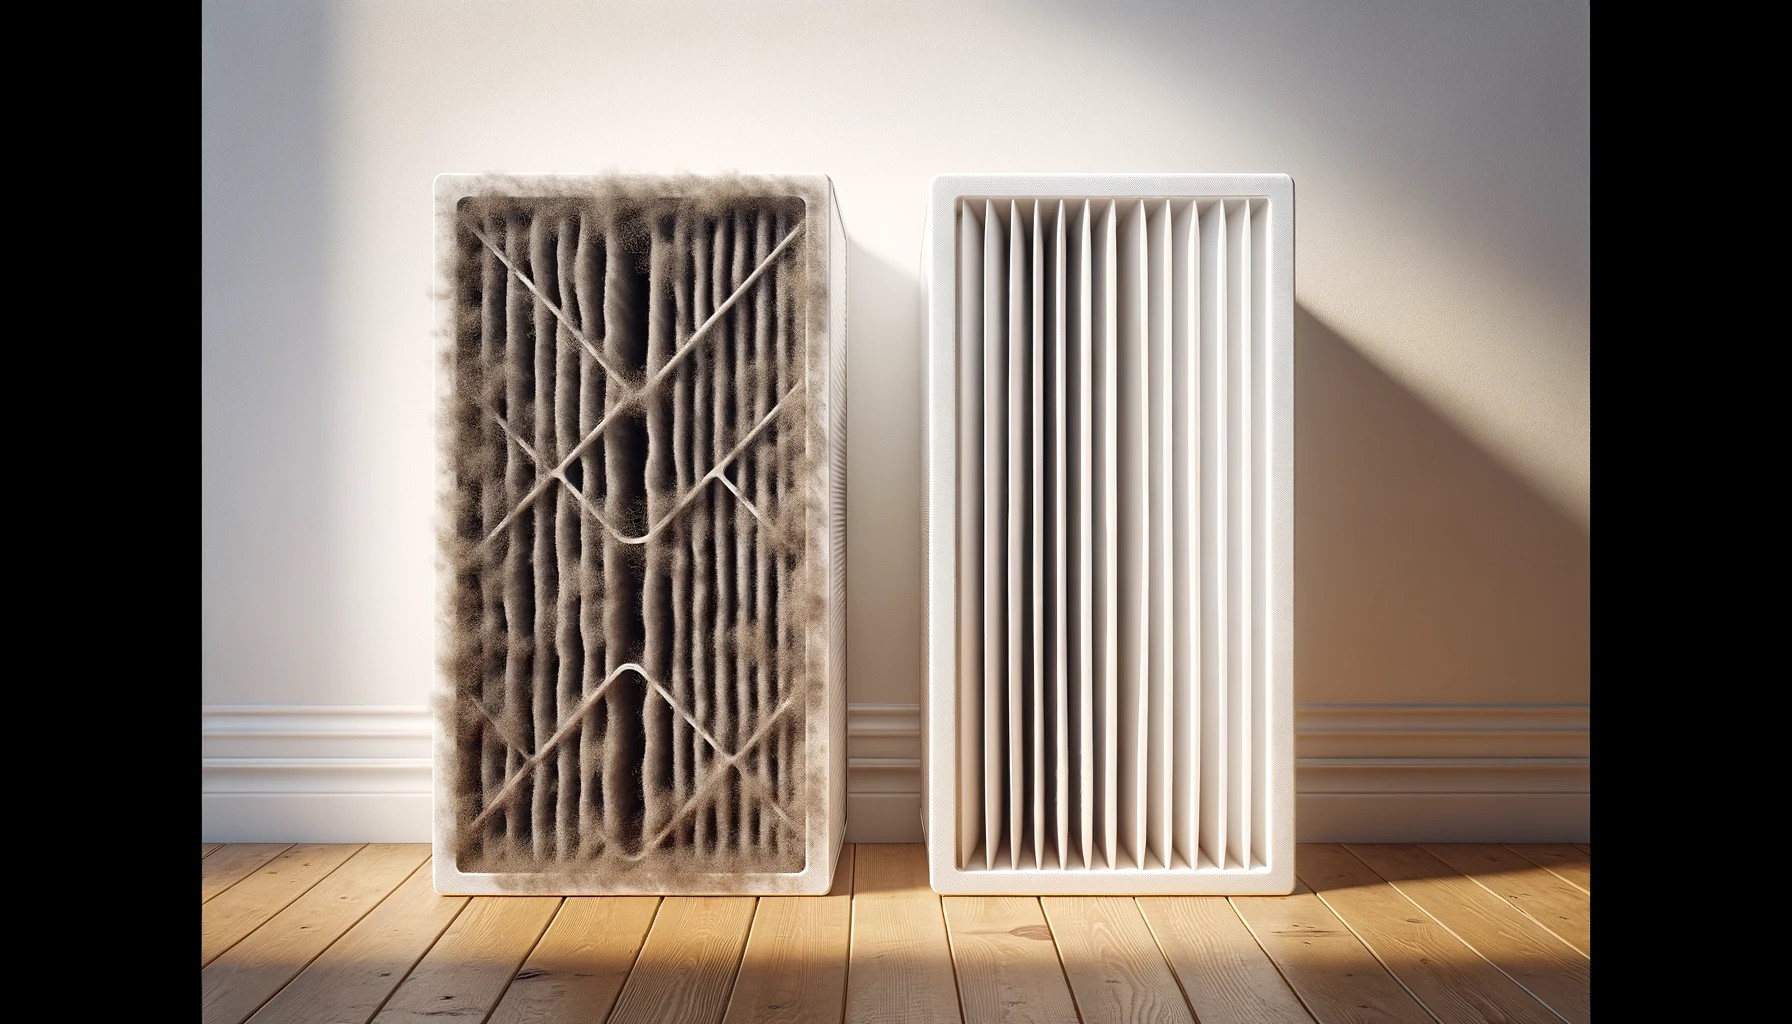
Neglecting your air purifier can lead to reduced efficiency, a higher risk of malfunctions, and ultimately, a compromised indoor air quality that can affect both your health and the environment.
Before You Start: What You’ll Need
Preparation is key to effectively cleaning your air purifier. Ensure you have the following items on hand:
- Vacuum cleaner with a brush attachment
- Soft cloth
- Mild soap
- Water
Safety tips: Always unplug the unit before cleaning. Wear protective gloves to safeguard your hands, especially when dealing with sharp edges or components.

Step-by-Step Air Purifier Cleaning Guide
Step 1:Pre-cleaning Preparations
Start by unplugging your air purifier and removing any external components that require separate cleaning. This step is crucial for preparing your unit for a thorough cleaning process.
Step 2: Remove the Filter
Open the purifier's casing carefully and gently remove the filter. Consult your manual for model-specific instructions as different models may have varying methods.
Step 3: Dust Off
Remove loose dust and debris from the filter's surface using a soft brush or a vacuum with a brush attachment. This step is critical for preventing dust accumulation that can impair the filter's effectiveness.
Step 4: Wash (If Applicable)
For washable filters, rinse under lukewarm water until the water runs clear. It's important to avoid harsh detergents, which can damage the filter and decrease its efficiency.
Step 5: Dry Thoroughly
Allow the filter to air dry completely in a well-ventilated area before reinstalling. Never use a dryer or reinstall a damp filter, as moisture can promote mold growth and reduce air quality.
Step 6: Exterior Cleaning
Wipe down the exterior of the air purifier with a soft, damp cloth. Using harsh chemicals can damage the unit's surface and potentially impair its functionality.
Step 7: Reassemble & Test
Once everything is dry, place the filter back into the purifier, ensuring it fits securely. Test the purifier's functionality after reassembly to ensure all parts are securely in place and operating correctly.
Dive Deeper into Cleaning Air Purifier Filters
Understanding the specific needs of different filter types is key to effective maintenance.
How to Clean Air Purifier HEPA Filter?
For washable HEPA filters, use lukewarm water for rinsing until clear and allow the filter to dry completely before reinstalling. This careful handling ensures the delicate fibers are not damaged and maintain their effectiveness.
How to Clean Non-Washable HEPA Air Purifier Filters?
Non-washable HEPA filters should be gently vacuumed to remove dust without using water. These filters need to be replaced as per the manufacturer's recommendations to ensure optimal air quality.
How to Clean Carbon Filters for Air Purifiers?
Carbon filters, crucial for removing odors and gasses, should be gently vacuumed. Replacement is often necessary over time as these filters cannot be washed.
How to Clean Air Purifier Pre-filters?
Pre-filters catch larger particles and can usually be vacuumed or washed, depending on the model. Ensuring these are clean can significantly improve your purifier's overall efficiency.
Maintenance Beyond Cleaning Purifiers
Regular checks for seal integrity, electrical safety, and sensor functionality are part of comprehensive air purifier maintenance. Seasonal adjustments may also be necessary to address specific environmental conditions, such as higher pollen counts in spring.
Maintaining your air purifier through regular cleaning and maintenance is essential for ensuring it operates efficiently, providing you with the cleanest air possible. By following these detailed steps and understanding the needs of different filters, you can significantly improve your indoor air quality and protect your health. Remember to consult your air purifier’s manual for model-specific advice and maintain a consistent cleaning schedule to enjoy the benefits of clean, healthy air in your home or office.
Frequently Asked Questions
How to clean a Fellowes Air Purifier filter?
Maintaining your Fellowes air purifier by regularly cleaning the filter is essential for optimal performance and ensuring the air in your space remains clean. Here’s a guide to help you clean your Fellowes air purifier filter properly:
- Safety Precautions: Begin by turning off your air purifier and unplugging it from the electrical outlet. It's important to ensure your safety and protect the device from any potential damage during the cleaning process.
- Access the Filter: Open the air purifier according to the instructions provided in your model's user manual. Fellowes air purifiers typically have an easy-to-open compartment that houses the filter.
- Identify Filter Type: Fellowes air purifiers may contain several types of filters, including True HEPA filters and carbon filters. It’s crucial to identify the type of filter your model uses, as cleaning methods may vary. True HEPA filters are generally not washable and should not be exposed to water.
- Cleaning the Carbon Filter: If your model includes a carbon filter and it is designated as washable, you can gently rinse it under lukewarm water to remove dust and odors. Avoid using any detergents or soaps. Shake off excess water and allow the filter to air dry completely before reinstalling it.
- Vacuuming the HEPA Filter: For True HEPA filters, use the soft brush attachment of your vacuum cleaner to gently remove dust and particles from the surface of the filter. Be careful not to apply too much pressure, as this could damage the filter fibers.
- Check for Replacement Needs: While cleaning can help maintain filter efficiency, all filters have a limited lifespan and will eventually need to be replaced. Check your air purifier’s manual for the recommended replacement schedule. Typically, HEPA filters should be replaced every 12 to 18 months, depending on usage and air quality.
- Reassemble the Air Purifier: Once the filter is clean and dry (or replaced if necessary), carefully reinsert it into the air purifier. Make sure it is properly seated in its compartment before closing the unit.
- Reset the Filter Indicator (if applicable): Some Fellowes air purifier models feature a filter change indicator. After cleaning or replacing the filter, you may need to reset this indicator. Consult your user manual for specific instructions on how to reset the filter change indicator on your model.
By following these steps, you can ensure that your Fellowes air purifier continues to work efficiently, providing you with clean air and a healthier indoor environment. Regular maintenance, including filter cleaning and replacement, is key to the longevity and performance of your air purifier.
How to Clean a Molekule Air Purifier Filter?
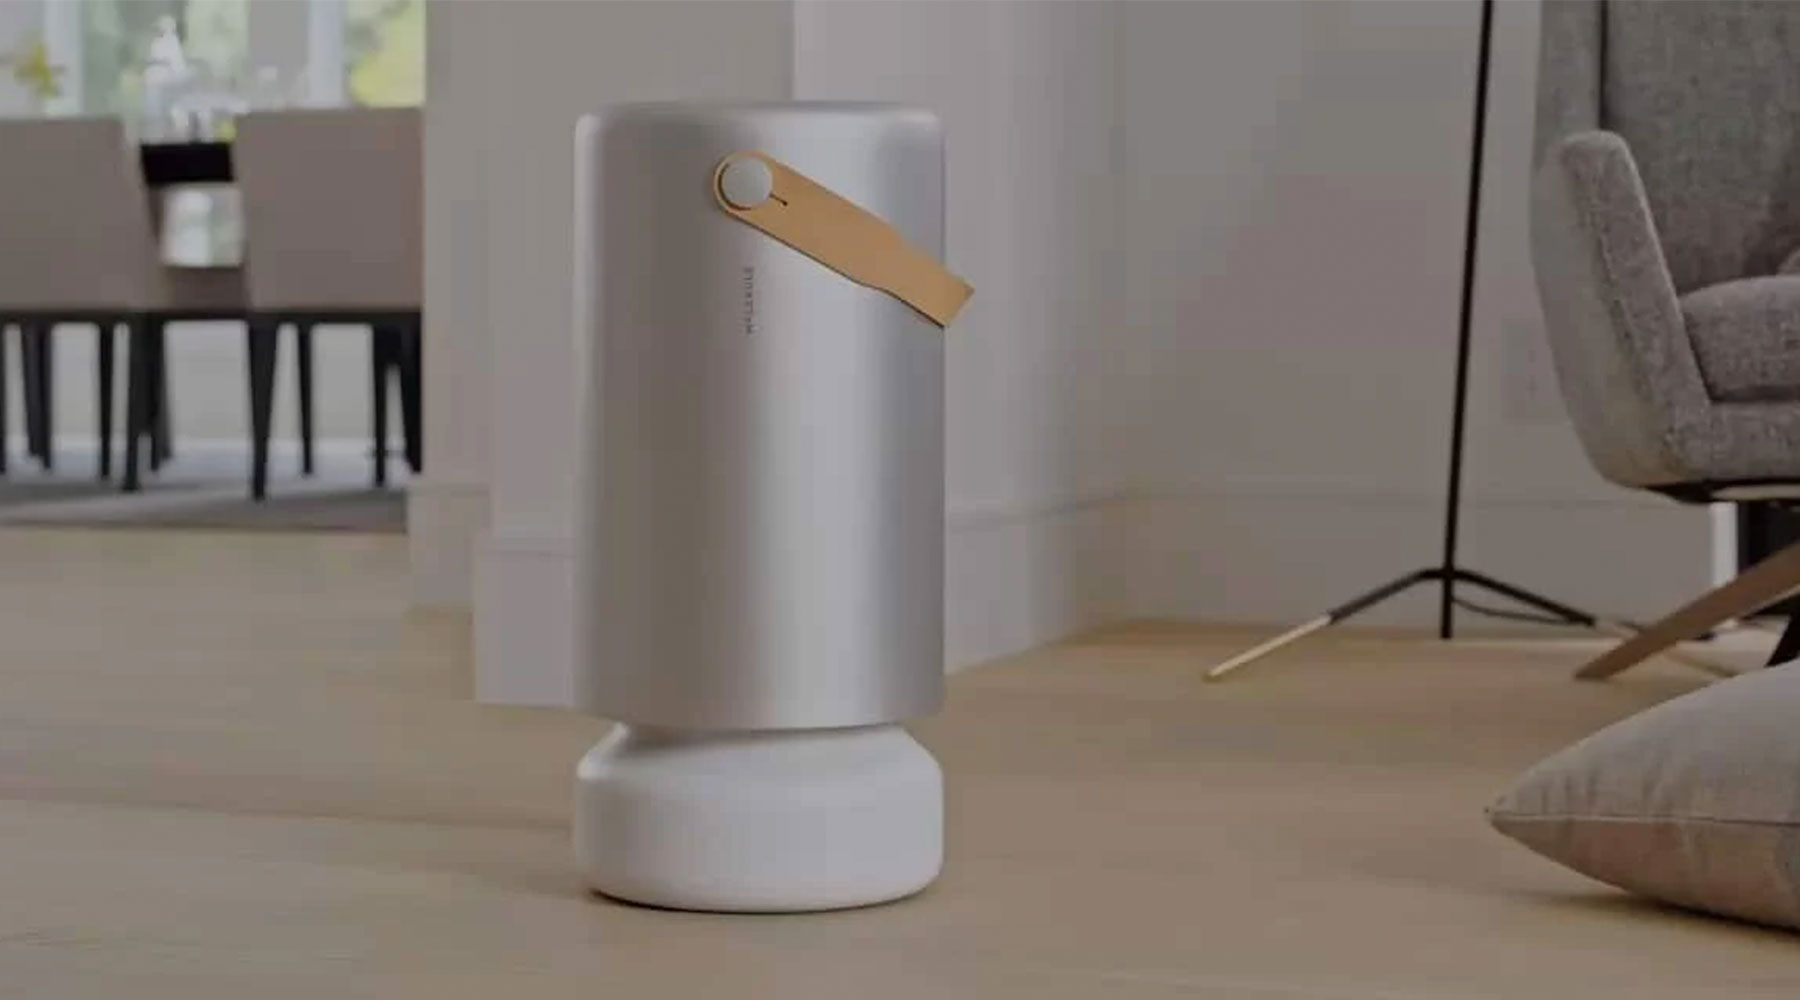
Cleaning your Molekule air purifier filter is crucial for maintaining the device's effectiveness in purifying the air in your home. Molekule air purifiers use a unique PECO filter technology, which requires specific care and maintenance. Here's how to clean your Molekule air purifier filter properly:
- Safety First: Always ensure your Molekule air purifier is turned off and unplugged from any power source before you start the cleaning process. This is a critical step to ensure your safety and prevent any damage to the device.
- Disassemble the Unit: Carefully disassemble your Molekule air purifier to access the filter. The process may vary slightly depending on your specific Molekule model, so refer to the user manual for detailed instructions. Typically, this involves removing the outer shell or opening the device's access door.
- Inspect the Filters: Molekule air purifiers come with two types of filters - a Pre-Filter and a PECO-Filter. The Pre-Filter captures larger particles like dust and pet hair, while the PECO-Filter is designed to capture smaller particles and destroy pollutants at the molecular level.
- Cleaning the Pre-Filter: The Pre-Filter can be cleaned to remove accumulated dust and debris. Gently vacuum the Pre-Filter using a soft brush attachment to remove the visible dust. If your model's Pre-Filter is washable (check your user manual to be sure), you can rinse it under lukewarm water. Allow it to air dry completely before reinstalling. Do not use any detergents or soaps.
- PECO-Filter Maintenance: The PECO-Filter should not be washed or vacuumed. If you notice any buildup on the PECO-Filter, it's likely time to replace it. Washing or vacuuming the PECO-Filter can damage the filter's coating and reduce its effectiveness.
- Reassemble Your Air Purifier: Once the Pre-Filter is completely dry, reassemble your Molekule air purifier. Make sure all parts are correctly placed and securely fastened.
- Filter Replacement: It's important to replace the PECO-Filter and Pre-Filter regularly to maintain optimal air purification performance. Molekule recommends replacing the Pre-Filter every 3 months and the PECO-Filter annually, but this can vary based on usage and air quality in your home. Check your user manual for specific recommendations for your model.
- Reset the Filter Replacement Indicator (if applicable): After replacing the filters, reset the filter replacement indicator on your Molekule air purifier. This process can vary by model, so refer to your user manual for instructions.
By following these steps, you can help ensure that your Molekule air purifier continues to effectively clean the air in your home, providing a healthier environment for you and your family. Regular maintenance, including cleaning and replacing filters as needed, is key to the longevity and performance of your air purifier.
How to Clean an Air Purifier Filter with Vinegar
Cleaning an air purifier filter with vinegar can be an effective way to remove odors and buildup, especially for washable pre-filters. Vinegar is a natural disinfectant and deodorizer, making it a great choice for eco-friendly cleaning. Here’s how to do it:
- Safety Precautions: First, ensure your air purifier is turned off and unplugged. This is a crucial step to prevent any electrical hazards.
- Remove the Filter: Carefully take the filter out of the air purifier. Most units have easily accessible filters, but consult your user manual if you’re unsure how to remove yours.
- Prepare the Vinegar Solution: Mix a solution of equal parts white vinegar and water in a large basin or sink. White vinegar is recommended due to its cleaning properties and mild acidity, which is effective in breaking down grime without damaging the filter.
- Soak the Filter: Submerge the washable filter in the vinegar solution. Let it soak for about 30 minutes to allow the vinegar to penetrate and loosen any buildup of dust, pollen, and other pollutants.
- Gentle Cleaning: After soaking, gently agitate the filter in the solution to dislodge any remaining debris. If the filter is heavily soiled, you can use a soft brush to lightly scrub the surfaces. Be careful not to damage the filter material.
- Rinse Thoroughly: Rinse the filter under running water to remove all traces of vinegar and loosened debris. Ensure the water runs clear before finishing.
- Air Dry: Allow the filter to air dry completely before reinstalling it in the air purifier. Do not use heat sources like dryers, as they can warp or damage the filter. Place the filter in a well-ventilated area to speed up the drying process.
- Reinstall the Filter: Once the filter is dry, place it back into the air purifier, making sure it fits securely.
- Regular Maintenance: While cleaning with vinegar can help maintain your filter, remember that not all filters are designed to be washed and reused. Always check your air purifier’s manual to confirm if your filter is washable and follow the manufacturer’s guidelines for cleaning and replacement.
Cleaning your air purifier filter with vinegar is a simple, natural method that can help extend the life of washable filters and improve the efficiency of your air purifier. However, it’s important to ensure that this method is suitable for your specific filter type to avoid any potential damage.
How to Clean Austin Air Purifier Filter?
Cleaning the filter of your Austin Air purifier is an important maintenance task that helps ensure the unit continues to operate efficiently and effectively clean the air in your environment. Here's how to properly care for your Austin Air purifier filter:
- Safety First: Always turn off and unplug your Austin Air purifier before attempting any maintenance. This ensures your safety and protects the purifier from potential damage.
- Accessing the Filter: Austin Air purifiers are designed with a filter assembly that includes both the HEPA filter and an activated carbon/zeolite pre-filter. To access these, you may need to flip the unit upside down and remove the bottom plate. Depending on your model, this might involve unscrewing the plate or simply unlatching it.
- Inspect the Filters: Once you have access, inspect both the HEPA filter and the pre-filter. Austin Air's HEPA filters are not washable and should not be exposed to water. The pre-filter, which captures larger particles, is the primary focus for cleaning.
- Cleaning the Pre-Filter: Carefully remove the pre-filter from around the HEPA filter. You can clean the pre-filter by gently vacuuming it with a brush attachment to remove dust, pet hair, and other large particles. Ensure you vacuum both sides of the pre-filter to achieve the best results.
- HEPA Filter Maintenance: While the HEPA filter itself should not be washed or vacuumed, you can gently tap it to dislodge any accumulated dust. However, be cautious not to damage the filter media. Austin Air recommends not attempting to clean the HEPA filter deeply, as this can compromise its efficiency.
- Reassembly: Once the pre-filter is cleaned and the HEPA filter is inspected, carefully reassemble the unit. Ensure the pre-filter is correctly positioned around the HEPA filter before securing the bottom plate back onto the purifier.
- Filter Replacement: While cleaning can extend the life of your pre-filter, both the pre-filter and the HEPA filter will eventually need to be replaced. Austin Air typically recommends replacing the HEPA filter every 3 to 5 years, depending on your specific environment and usage. The pre-filter should be replaced more frequently, usually every 12 months.
- Regular Checks: Regularly inspect your filters for signs of wear or heavy soiling. Keeping the filters clean and replacing them as needed is key to maintaining the air quality in your home and ensuring your Austin Air purifier operates at peak efficiency.
Remember, proper care and maintenance of your Austin Air purifier's filters not only contribute to the longevity of the unit but also to the health and well-being of you and your family by providing cleaner, healthier air.
How to Clean Honeywell Air Purifier Filter?
Maintaining your Honeywell air purifier by regularly cleaning the filter is essential for ensuring the device continues to effectively clean the air in your home. Here’s a step-by-step guide on how to clean your Honeywell air purifier filter:
- Turn Off and Unplug: Safety is paramount. Always ensure your Honeywell air purifier is turned off and unplugged from the power source before starting any maintenance.
- Access the Filter: Open the air purifier’s cover to access the filter. Most Honeywell air purifiers have a front or back panel that can be easily opened or removed to reveal the filter. Refer to your specific model’s user manual for detailed instructions.
- Identify the Filter Type: Honeywell air purifiers may contain different types of filters, including pre-filters and HEPA filters. It’s important to identify the type of filter your model uses, as the cleaning methods may vary. Pre-filters can often be cleaned, while HEPA filters are not washable and should not be exposed to water.
- Cleaning the Pre-Filter: If your model has a washable pre-filter, you can clean it by gently vacuuming to remove dust and debris. For a deeper clean, wash the pre-filter in warm water with a mild detergent. Rinse thoroughly and allow it to air dry completely before reinstalling. Do not use the dishwasher or dryer.
- HEPA Filter Maintenance: Honeywell recommends not washing or vacuuming HEPA filters as it can damage the filter’s fibers. If the HEPA filter appears dirty or has been used for longer than the manufacturer’s recommended period, it should be replaced rather than cleaned.
- Reinstall the Filter: Once the pre-filter is completely dry (or you have a new HEPA filter ready), carefully place it back into the air purifier. Ensure it fits securely and the air purifier’s cover is properly reattached.
- Regular Replacement: Despite regular cleaning, all filters have a lifespan and will eventually need to be replaced to maintain optimal air purification performance. Check your user manual for the manufacturer’s recommendations on replacement intervals. Typically, pre-filters should be replaced every 3 months, and HEPA filters should be replaced annually.
- Reassemble and Test: After the filters are cleaned or replaced, reassemble your air purifier and plug it back in. Turn it on to ensure it’s working correctly.
By following these steps, you can help ensure that your Honeywell air purifier continues to operate efficiently, providing clean, healthy air for your home. Regular maintenance, including filter cleaning and replacement, is key to the longevity and performance of your air purifier.
Recent Posts
-
High-Touch Surface Cleaning Checklist & Guide for Facilities
Overview: What This Guide Covers This guide provides a complete, ready-to-use high-touch surface cle …Jan 16, 2026 -
Facility HVAC Cleaning Checklist: What to Clean, When, and Why
The Dust You Don't See In many facilities, floors get cleaned, windows shine, and restrooms are sani …Jan 09, 2026 -
Fragrance-Free vs Scented: Build an Allergy-Safe Cleaning Program that Still Works
When "Clean" Becomes a Complaint You know the scene: your custodial team disinfects the office overn …Dec 05, 2025


